I got a new MacBook Pro M3 last week and I was preparing to give away my old MacBook Pro that comes with High Sierra. Before shipping the device, I need to erase all data on this Mac first. So I downloaded the latest version of Install macOS High Sierra app from Apple, created a bootable USB from the installer and formatted the internal SSD for new install.
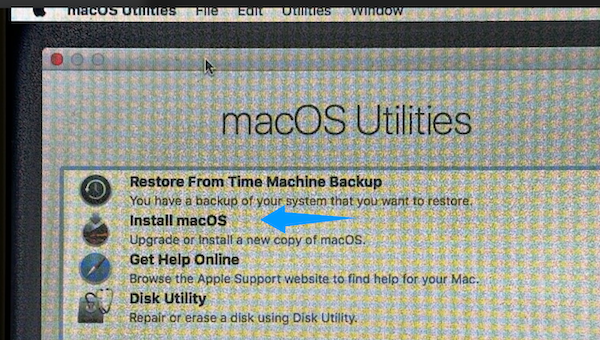
Everything worked fine when booting from the High Sierra install USB. All of sudden I got the following error after clicking the Install macOS app from macOS Utilities:
This copy of the Install macOS High Sierra application damaged, and can’t be used to install macOS.
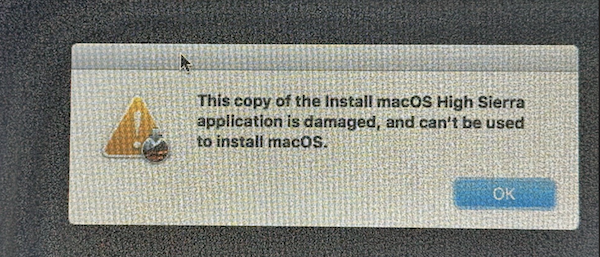
The Root Cause of the Install macOS High Sierra application is Damaged
In order to prevent unauthorized access to the macOS install application, Apple is encoded an SSL certificate for all versions of OS X and macOS installer apps. Each of the have a start and end data. When you are trying to install the macOS, the system date should be valid, which means the system data should be in the range of beginning and the ending date of the stock SSL certificate. If the data was wrong, then you will receive the above error message, saying the Install High Sierra application is damaged and the installation would be stopped automatically.
How to Fix “The Install macOS High Sierra application is Damaged” Error in 2024
One simple fix to solve this error is by changing the system date during installation. You can do this with the help of the built-in Terminal app.
Step 1: Download the High Sierra Install App Using Mist
The download link from Mac App Store won’t work as the request version of macOS High Sierra is not available on a new Mac.
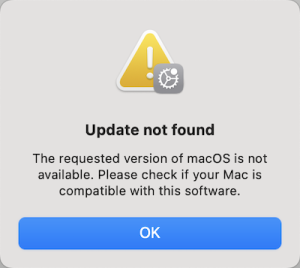
If this was your case, please use the free Mist app to download High Sierra install app.
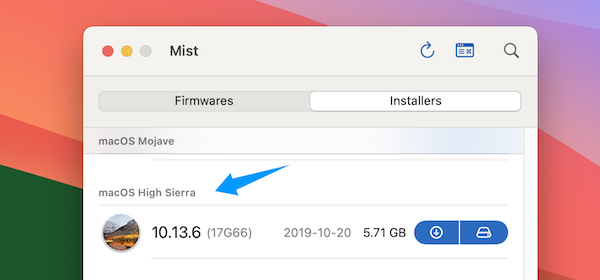
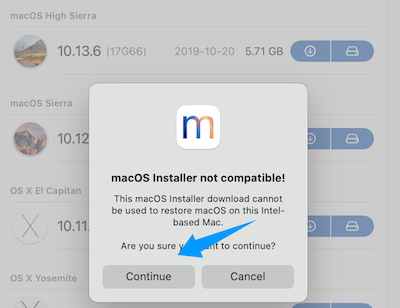
Please ignore the follow message and continue the download as you are going to install High Sierra on another compatible Mac not this one. And you need to use this installer to create a bootable High Sierra USB.
Step 2: Make a bootable USB with createinstallmedia Command
Plug in a USB flash drive and open the Terminal app. Input the following command to create a High Sierra bootable USB for installation.
sudo /Applications/Install\ macOS\ High\ Sierra.app/contents/resources/createinstallmedia –volume /Volumes/untitled
Don’t forget to replace the volume “untitled” with your USB volume name. You can find it via the ls /Volume command.

Step 3: Boot Mac from Install USB
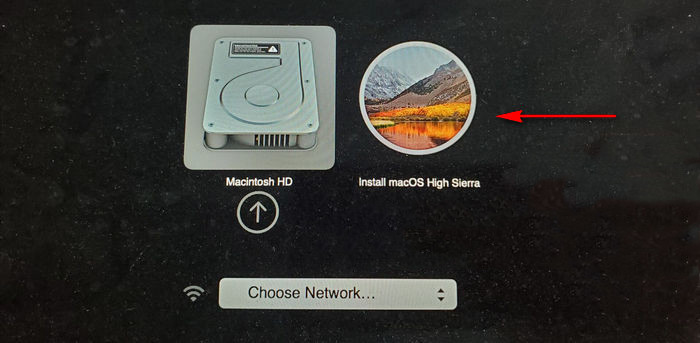
Now, connect the bootable USB to the target Mac. Restart the Mac and keep pressing the Option key. This will bring up the startup manager, which allows you choosing a temporary bootable device this time.
Step 4: Turn off WiFi and Change System Date
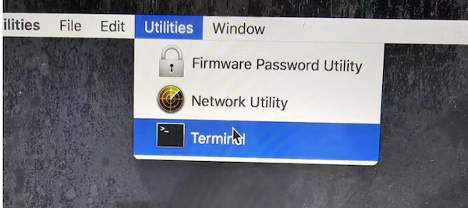
Click on the Install macOS High Sierra option and you will see the macOS Utilities. At this time, please turn off WiFi to avoid syncing date information during installation. Next, from the Utilities menu, open the Terminal app and input the one of following commands to change the system date.
date 0101010118
Step 5: Quit Terminal app and Start Installing macOS High Sierra
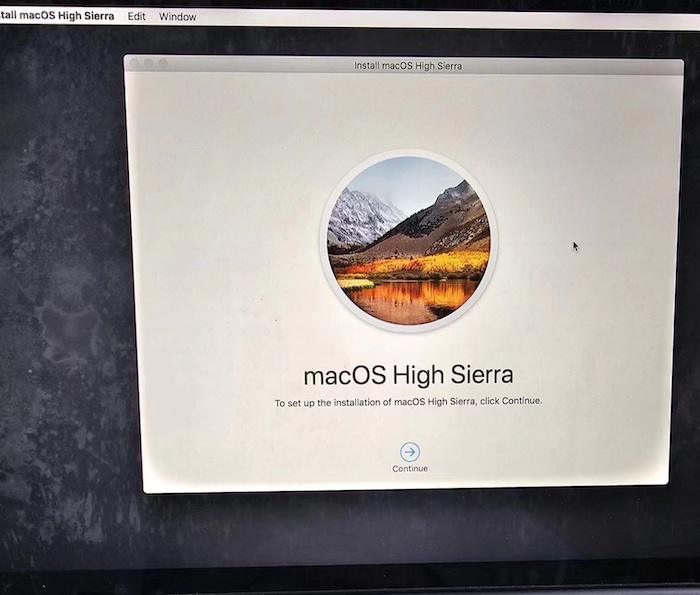
Finally, close the Terminal app and revert back to the macOS installation window. At this time, you are able to fully install macOS High Sierra from USB without any error.
Conclusion
The above trick will definitely help you fix the error when you see “This copy of the Install macOS High Sierra application is damaged, and can’ t be used to install macOS” error, which is caused by an expired certification. Once you change it to a correct date, this error will not show up in future!