As an IT admin, who deals with computer issues every day, USB drive is a device I can’t live without. I have to build the bootable or recovery disk for repairing all kinds of computer issues. Like usual, I plugged a Lexar USB 3.0 drive into my laptop.
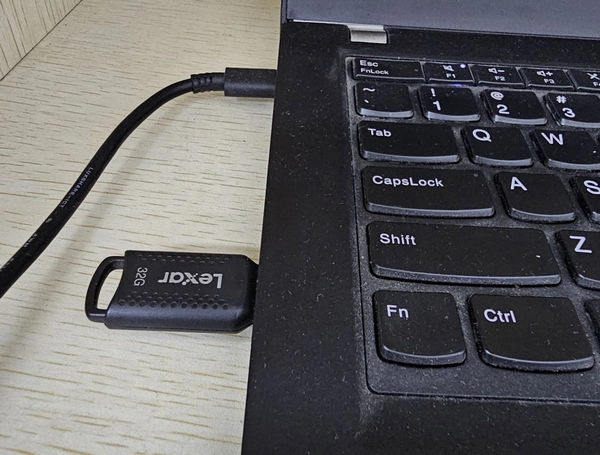
However, the USB drive was not showing up in Windows 11 explorer sometimes after flashing a .dmg or .img file to it.
At the first time, I thought the USB drive was physically broken or damaged. So I did a complete researching from Google and found out many tutorials who list tons of reasons are useless. And it is total waste of time reading those top-ranked tutorials.
In fact, this is not a driver issue on a model operating system like Windows 11. It will install USB driver automatically when the device is first connected. This will be done in a few seconds and the success rate is nearly 100% based on my personal experience.
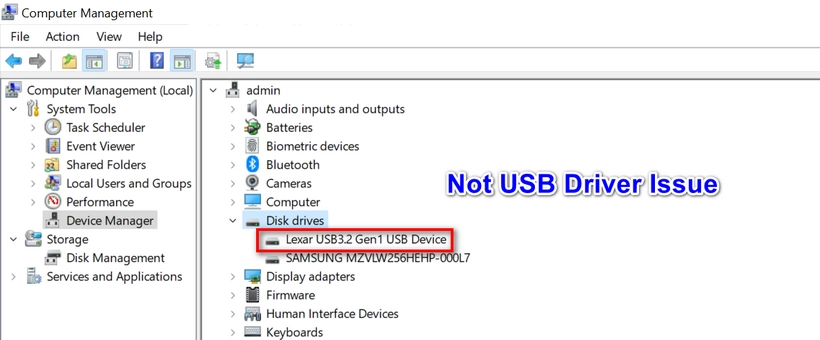
Secondly, the chance of physically broken USB flash drive is very rare unless it was dropped in water or smashed by heavy objects. The common reasons of USB not showing up in your computer that happened on Windows 7 or Windows XP no longer exist on Windows 11. Hence, it could be some unknown reasons in Windows 11.
Fortunately, I managed to fix this issue occasionally. The issue is that the USB drive has more than one partitions or the file system of partition is not recognized by Windows 11. For example, Mac OS X or macOS HFS+ and APFS file system are not supported by Windows 11 natively. When you connect a USB drive formatted by HFS+/APFS, the drive name will definitely not show up in Windows Explorer.
To fix USB drive not showing up in Windows 11, the first step is to download the free disk management called DiskGenius. It is full-featured disk partition manager software for Windows 10 and Windows 11. With its powerful functions, you can easily create, delete, shrink and format disks and partitions.
https://www.diskgenius.com/partition-management.php
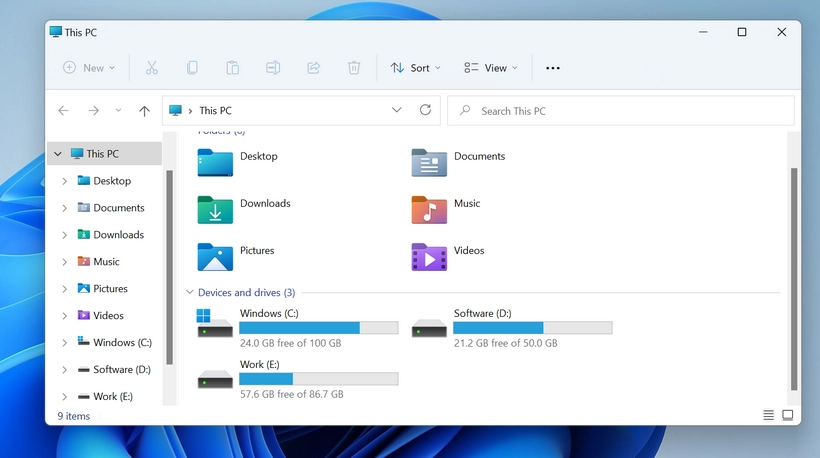
As you can see, the USB drive is not showing up in Windows 11 file explorer when this USB is plugged in my Windows 11 laptop.
However, you can see the USB drive name from DiskGenius and it has two partitions. The Ventoy(F:) and the reserved partition VTOYEFI(1).
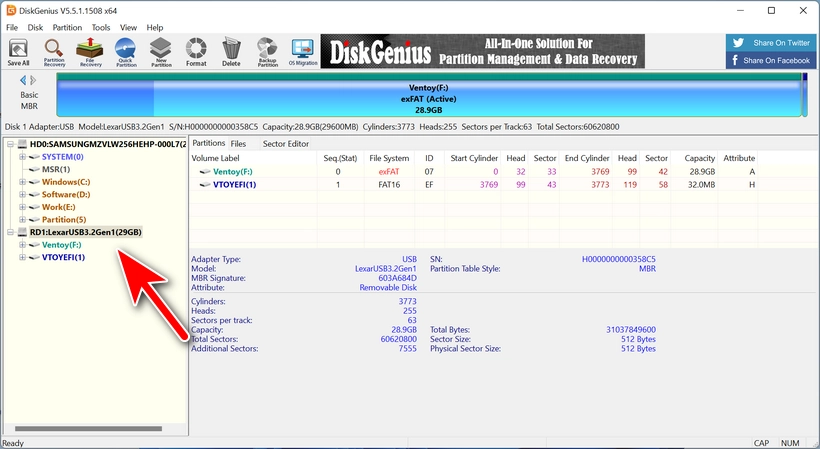
You have to delete all partitions from the USB drive in order to fix the issue.
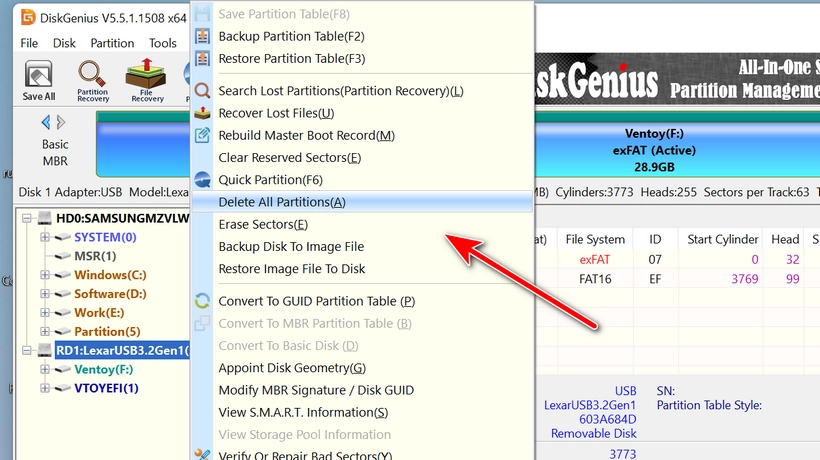
Warning: All data on this USB drive will be removed. Make sure you have a backup for them!
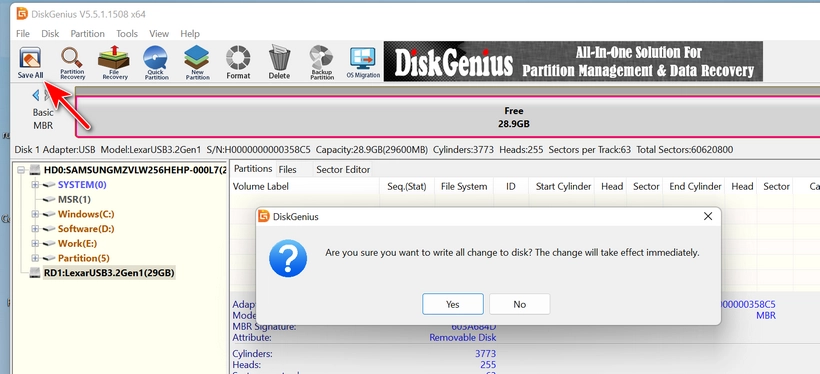
Click the ‘Save All’ button after all partitions are deleted.
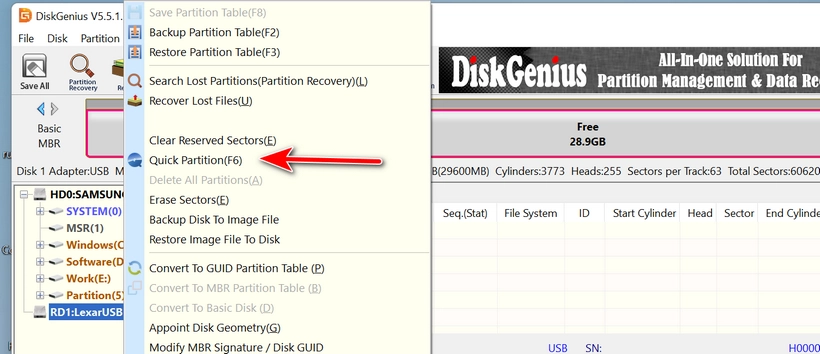
Next, right click on the USB name and create a new partition on it with the ‘Quick Partition’ menu.
You can format it to NTFS or FAT32 depending on your needs.
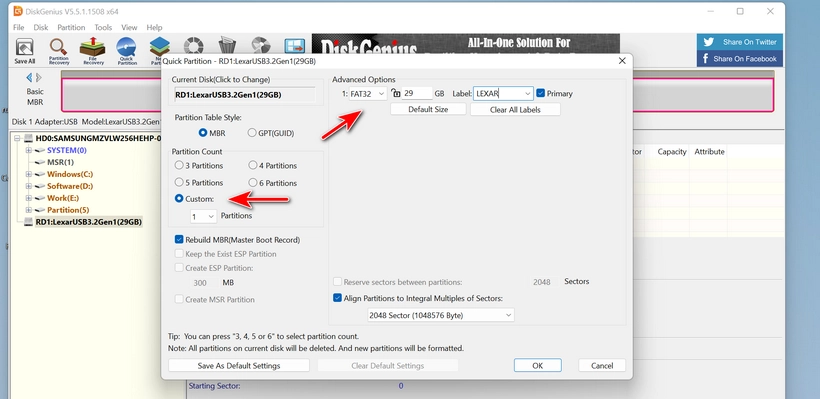
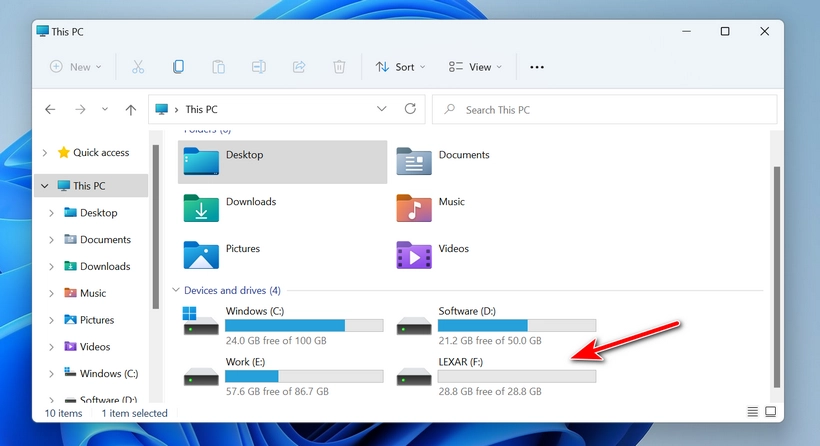
When this operation is completed, you will see the USB name immediately in Windows 11 file explorer.
Conclusion
This is the most efficient and practical solution to fix USB not showing up in Windows 11. Mostly importantly, it is super easy and totally free! You don’t have to read a long but not working tutorial recommended by search engine. You could be easily pissed off after taking hours on this matter by following the suggestions one by one.