Creating a Mac bootable USB used to be a very easy job when you do it on a Mac. However, this is not the case on Apple Silicon Mac any more as it is a totally different architecture comparing to the the traditional Intel x86. Apple Silicon Mac such as M1, M2 or M3 Mac runs on a modern macOS version, including Monterey, Ventura and the latest macOS Sonoma. The old Mac OS X install app even downloaded from Apple.com is not compatible with Apple Silicon Mac. However, there is a trick in here to help you create an old Mac OS X bootable USB on M1/M2/M3 Mac.
The story begins when I received an old MacBook Pro (15-inch, Late 2008) as a gift from my friend. The internal drive was wiped and no OS on it. So the first thing is to install an OS into it. For this Mac, Mac OS X El Capitan is the best fit. Like usual, I downloaded a copy of El Capitan bootable DMG from Apple (InstallMacOSX.dmg):
https://support.apple.com/en-us/102662
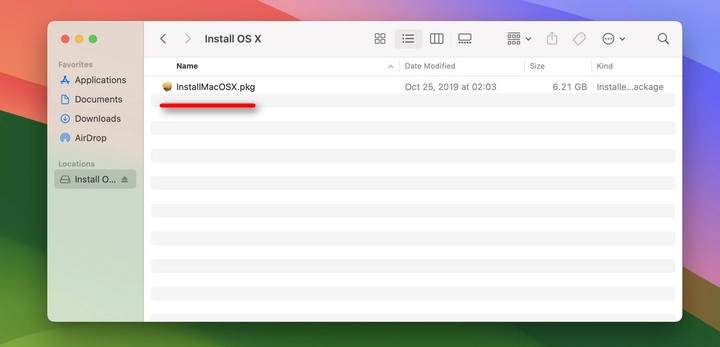
After download, double click the dmg file to launch the .pkg installer (InstallMacOSX.pkg). If it was going as expected, there would be an Install El Capitan app saved to the Application folder. From then on, you can use the official createinstallmedia command to make a bootable El Capitan USB on your Mac from Terminal app, just like the statement of this official guide:
https://support.apple.com/en-us/101578
sudo /Applications/Install\ OS\ X\ El\ Capitan.app/Contents/Resources/createinstallmedia –volume /Volumes/MyVolume –applicationpath /Applications/Install\ OS\ X\ El\ Capitan.app
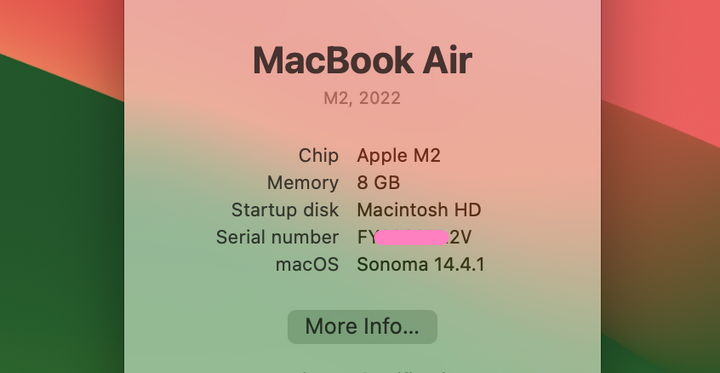
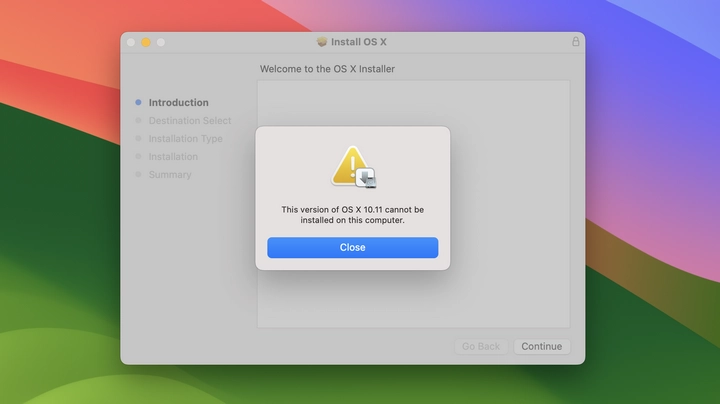
However, this procedure no longer works on Apple Silicon Mac. When you are trying to run OS X 10.10 (El Capitan) install app on my M2 MacBook Air with Sonoma 14.4.1, it says:
This version of OS X 10.10 cannot be installed on this computer.
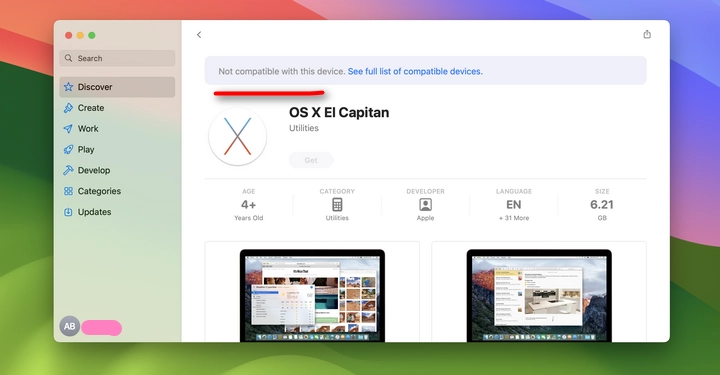
In addition, OS X El Capitan install app from Mac App Store is also not available for Apple Silicon Mac. There is an warning message at the top, saying “Not compatible with this device.” This Mac OS X El Capitan app requires a Mac running Mac OS X 10.6.8 or later with an Intel 64-bit process.
This is a quite frustrating experience as it is a common task you might do on a Mac and the official documentation does not help at all. Luckily, this can be fixed with the help of third-party software.
How to Create OS X El Capitan Bootable USB on Apple Silicon Mac
In below, you will learn how to create a bootable USB for old Mac OS X versions. In my example, I will take Mac OS X El Capitan for example. It also works for other OS X and macOS versions, such as Lion, Yosemite, Sierra, High Sierra, Mojave and Catalina.
Step 1: Download a bootable copy of El Capitan dmg file from here or other reputable sources on the Internet. Please don’t use the official dmg file as it does not work!
Step 2: Download and install UUByte DMG Editor app on your Mac. It is a dedicated app for making bootable USB from dmg file.
https://www.uubyte.com/download/dmg-editor.dmg
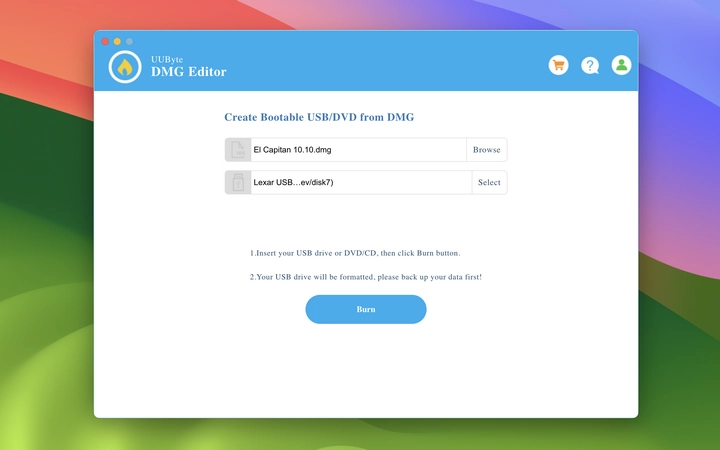
Step 3: Open DMG Editor on your Mac and plug in a USB flash drive. After that, import the Mac OS X dmg file you downloaded earlier and choose the USB drive.
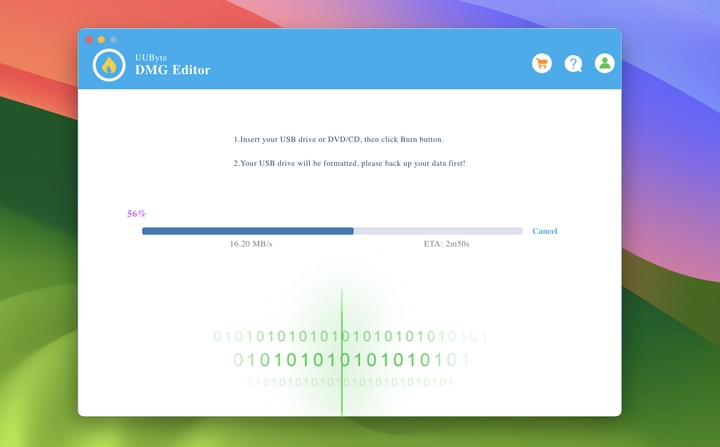
Step 4: Click the Burn button and wait for the process to be done. For a fast USB 3.0 drive, it will be done in less than 10 minutes on a Apple Silicon Mac.
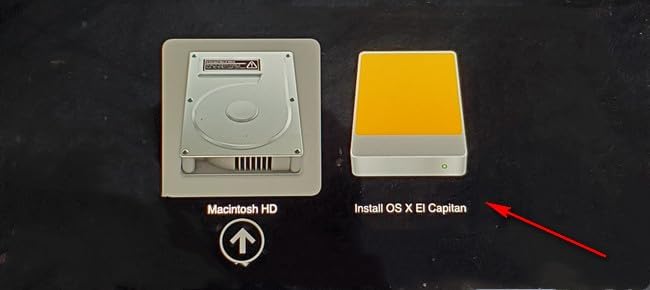
Step 5: Boot the old Mac from USB drive by pressing the power+ option keys. You will see the Install OS X El Capitan from the startup manager.
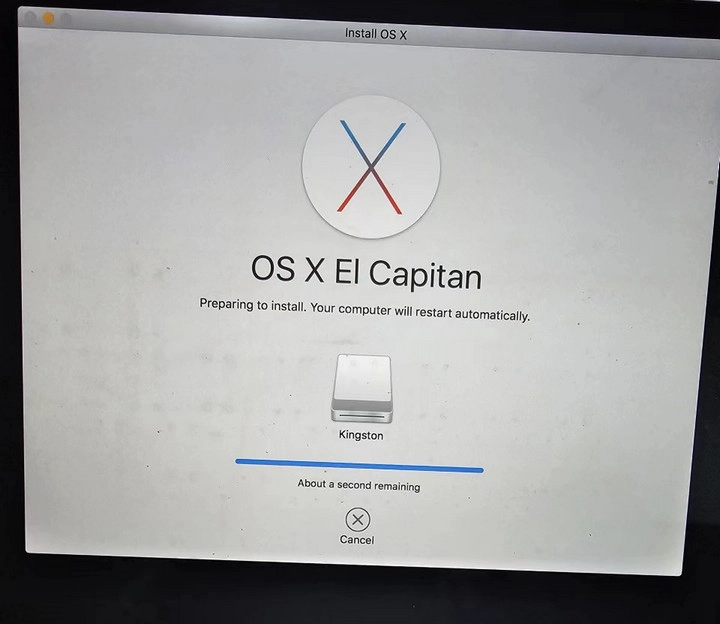
Step 6: Follow the screen prompt to install Mac OS X El Capitan on your Mac.
[Bonus] How to Fix OS X Install App Can’t be Verified or Corrupted
To prevent the malware inject of the Mac OS X Install app, Apple signed each copy of OS X Install app with a SSL certificate, which has a start and end date. If the installation date was not between the start and end date, the installation would be failed at the start and you will see the following error message:
This copy of the Install Mac OS X El Capitan application can’t be verified. It may have been corrupted or tampered with during downloading.
You will come across this error quite often in nowadays as the certificate was expired. You have to change the system data to a valid date before installation. Fortunately, this is simple to fix.
First, boot the Mac from El Capitan USB and open Terminal app from the menu bar.
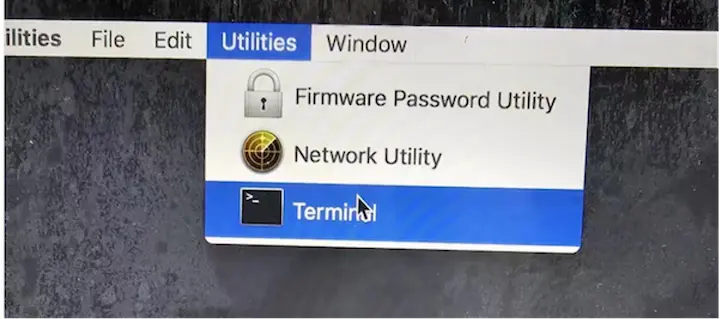
Turn off WiFi and type ‘date’ to check what is the current date on this Mac.
After that, change the system date to one of the following dates:
date 122014102015.30
date 1116211618

More Reference Guide for This Issue:
https://www.youtube.com/watch?v=VTXkBliSL50
https://discussions.apple.com/thread/252351485?sortBy=best
Summary
Apple makes the process of creating Mac OS X bootable USB on Apple Silicon Mac much more challenging, even you have a Mac at hand. However, you should not be worried as the above tutorial shares a valid solution to help you complete the process. This approach works on all Intel and Apple Silicon Mac (M1/M2/M3). Before doing that, you need to grab a correct copy of Mac OS X dmg file (not from Apple).